search
style
bookshelf
titles
TCPmaker : Visual Tour
Making a New Project Based on an Existing One
Screenbook Thumbnail View: Click on the title to go to page view.
1
Starting from a copy of a project
2
Our plan
3
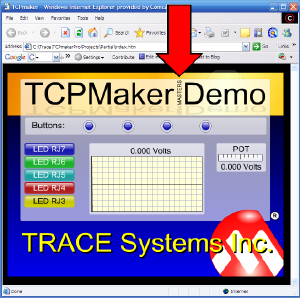
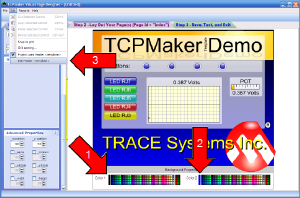
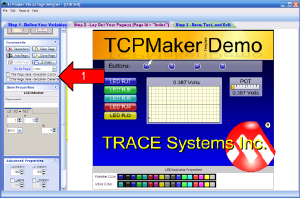
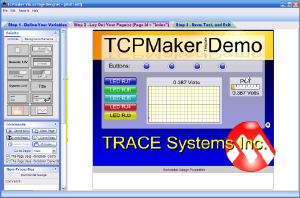
Step 1: Review appearance of existing layout
4
Appearance changes we want
5
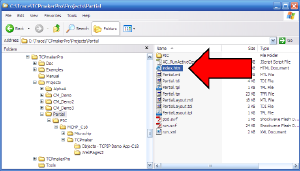
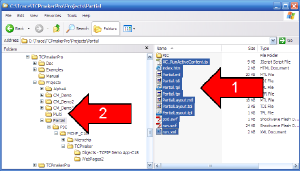
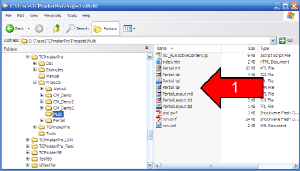
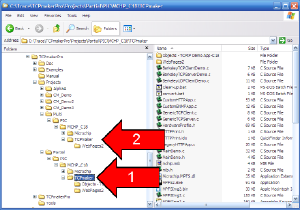
Step 2 - Copy files to clean new directory
6
Copy the files
7
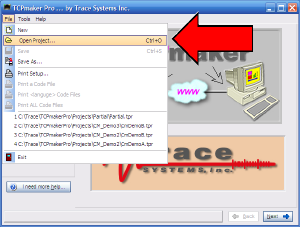
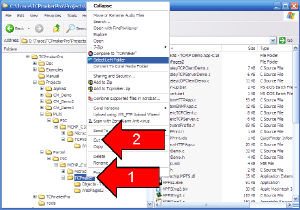
Step 3 - Load new project file into TCPmaker Pro
8
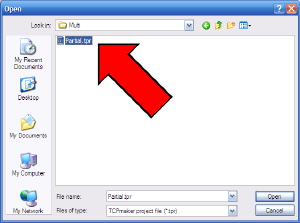
Open the project file
9
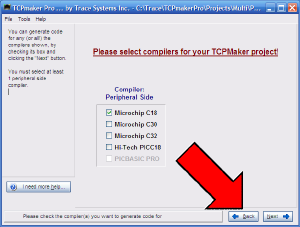
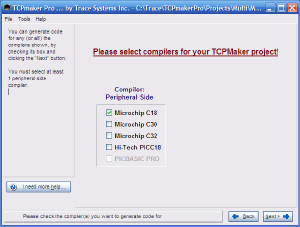
This will load the project file, and advance to the "Select compilers" page of the TCPmaker wizard.
10
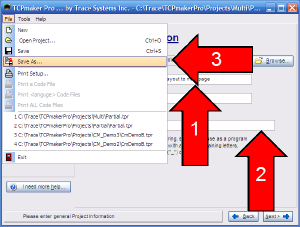
Change description and Device Class Name
11
Select compilers
12
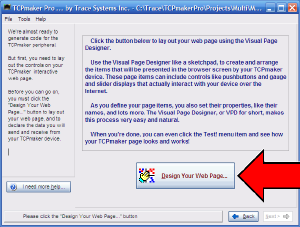
Click "Design Your Web Page..." to enter the Visual Page Designer
13
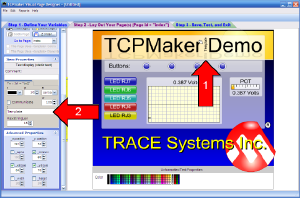
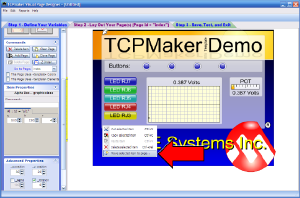
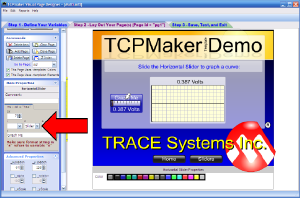
Edit our layout in the Visual Page Designer
14
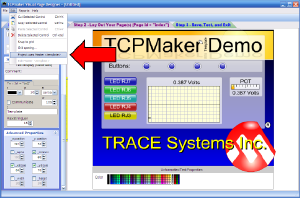
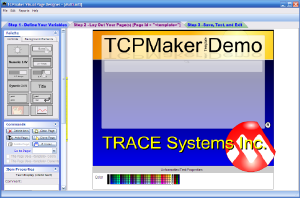
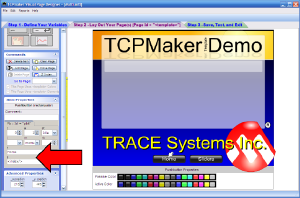
Setting up the Master Template
15
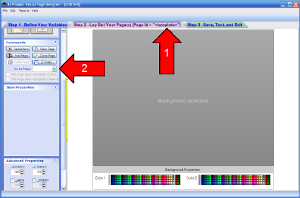
Determining background colors for the Master Template
16
Bringing up the Master Template
17
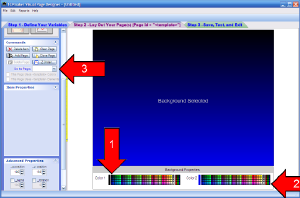
Setting background colors of the Master Template
18
Move controls and background elements to the Master Template
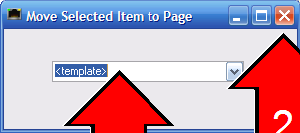
19
Move item to template
20
Verify that the item has moved to the Master Template
21
Caution: Z-Order is important
22
Continue moving background elements and labels to Master Template
23
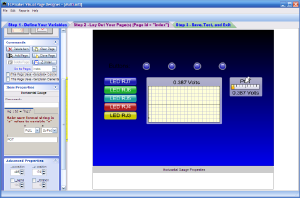
When we're done with the index page
24
Our Master Template at this point
25
The index page with Master Template applied
26
Add some navigation buttons to our new Master Template
27
Add a new page that uses our Master Template
28
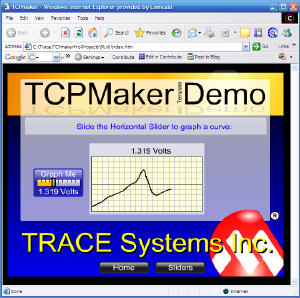
Save and test our layout
29
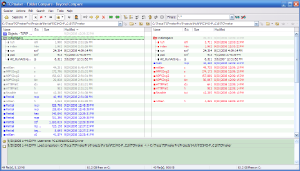
Using Beyond Compare 3 to copy "real I/O" code to our new project
30
Select the Left Directory for Compare
31
Compare to "TCPmaker"
32
Beyond Compare 3's side by side comparison of directory trees
33
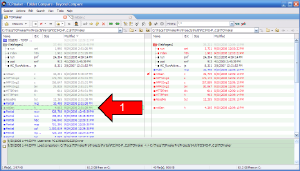
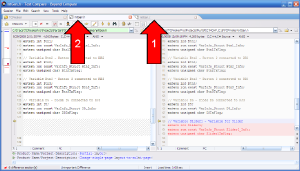
Comparing two files side by side
34
Comparing two MORE files side by side
35
Multiple comparisons available at once
36
Summary
37
Final comments about Beyond Compare 3